Nope. I spent the whole semester crafting, planning, and begging people to write notes for each of the seniors (most of which I got literally the day of. People.).
The last two days have been absolutely crazy in preparation, and I would not have made it if it weren't for my best friend who I am so thankful was willing to take time out of her finals schedule to cook for with me and help set everything up. She's a gem. We worked practically nonstop for I don't know how many hours, but it was so worth it because I think it turned out beautifully.
Let's start with the food:
I wanted something that just screamed summer, so what else would I make but cheesy potatoes? (This was also a selfish choice, because they are my absolute favorite). Next I made an easy tortellini pasta salad with peppers, provolone, red onion, and Italian dressing. Lastly, one huge fruit salad and a giant bowl of watermelon (more on that later).

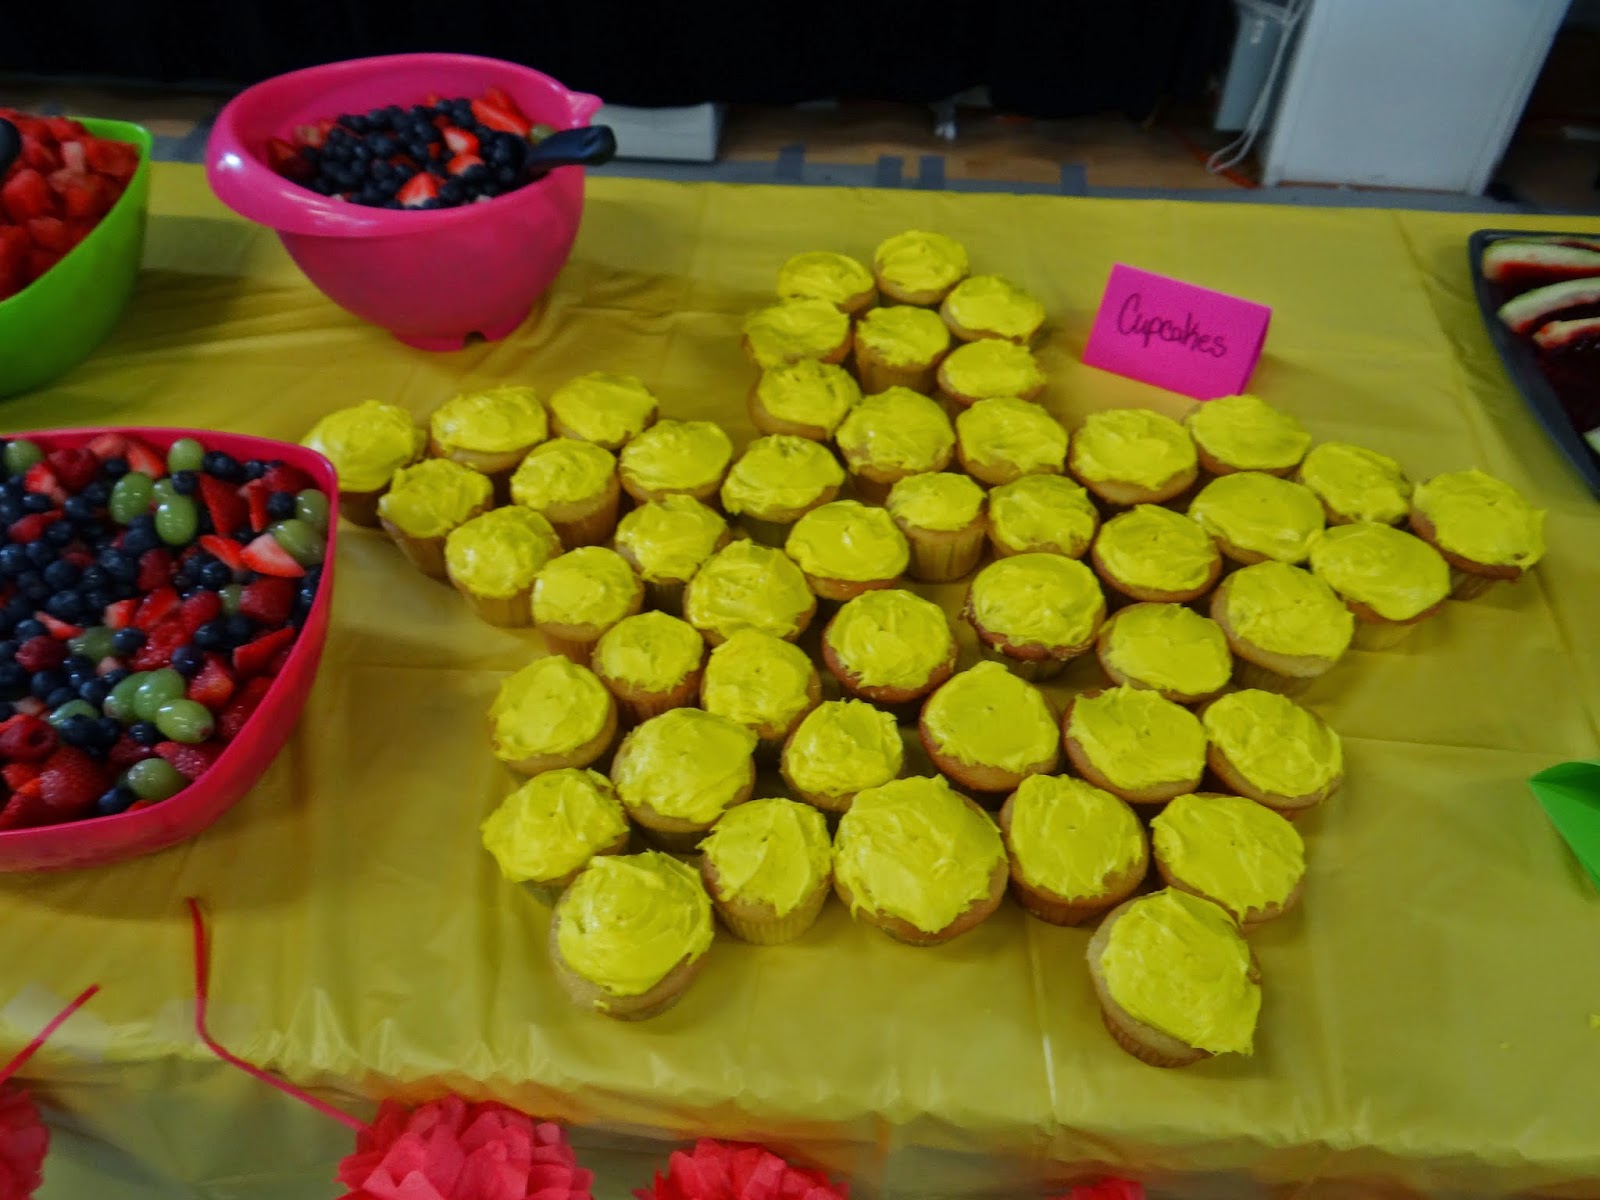
For dessert, I went basic with cupcakes...
...and then not so basic with jello made inside a watermelon. I first saw this as jello shots but as I'm neither 21 nor a person who drinks I wasn't interested in that, even for a non school event.
To give you the basic run down, for one large watermelon, I used eight 6 oz. boxes of strawberry jello. For each box, I boiled 1 1/4 cups of water (less than the suggested amount, but that makes it firmer so it holds its shape when you cut.).
Step 1: Cut your watermelon in half long ways. Scoop out all the watermelon, leaving as smooth a surface as possible on the inside. I recommend a melon knife. I just bought this adorable one that actually looks like a watermelon and it is my new favorite thing.


Step 2: Make your jello and pour it into the watermelon to set. I left mine overnight, since it was pretty deep and I wanted it nice and firm before I cut it.
Step 3: Cut your jello into watermelon slices! I cut each half in half, as in the picture on the above right, then cut those halves in half the other way. Starting from what used to be the center of the quartered watermelon, I cut slices down towards the end. If there is extra watermelon shell exposed, as there is the picture above, cut that off carefully. Try to keep from flattening the shell as you cut as this will pull the jello off. When you finish, you'll have an adorable tray full of jello slices. These were a huge hit!


One more little tip for you, although this won't be something to do in bulk.
As your scooping out the watermelon, you'll end up with lots of juice leftover. Pour this into a cup, add a little sugar (I didn't measure anything, just poured some in), and you'll have a sweet, refreshing drink to enjoy as your reward for all that cutting. Feel free to scoop out the seeds if you prefer. We didn't mind them.
We loved this so much that when the watermelon we cut up made more juice, we did this again! I'm telling you, it tastes like summer. It's so easy, and you don't waste any of that yummy watermelon!
I bet kids would love this too. I can see the kids I nanny asking for seconds and thirds.
 Moving away from the food table, lets talk decorations. We were holding the banquet in the dance studio so I had lots of space to work with. So much it was overwhelming actually. I knew I needed to use lots of color to make up for the fact that I wouldn't be able to decorate everything. I made about one million pinwheels (or twenty something) with no idea where I would put them. I ended up thinking the tables looked a little sad, even with their brightly colored tablecloths so I put them all over.
Speaking of pinwheels, let's talk about those. Pinterest people seem to think you need to do math and measure in order to make your folds even. False! It's simple origami! I don't even know how to do origami really, but I can do enough that I know you do not need to break out the calculator to make these accordion folds. I'm going to walk you through step by step.
Step 1: Fold your paper in half hot dog style.
Step 2: Fold one end into the middle. Repeat on the other side. You will end up with the shape on the far right.
.jpg)
.jpg)
.jpg)
Step 1: Fold your paper in half hot dog style.
Step 2: Fold one end into the middle. Repeat on the other side. You will end up with the shape on the far right.
Step 3: Unfold your paper and turn it over so you have three ridges folded mountain style. The next part is a little tricky to explain, but easy to do. Grab on to one of the ridges on either side of the center one. Pull it forward so it matches up with the center ridge and press down the other end. You will have created a fold halfway between the original two that is pointing the other way, valley style.
.jpg)
.jpg)
Step 4: Now take the end of that same side and fold it over the top to create another valley fold, halfway between the line you just pulled to the middle and the edge of the paper. Repeat steps 3-4 on the other side of the paper.
.jpg)
.jpg)
.jpg)
Step 5:. Fold the whole thing in half one more time, and then fold it in half the other way so so you have two open ends on one side and one loop at the other side. It will look like this.
.jpg)
.jpg)
Step 6: I don't have a picture of this step, but it's easy to understand. Pinch your accordion together at the top and cut in a diagonal line at the fanned end to create a nice shape when you put it all together. In the past, I have used decorative edge punches, curves, or other shapes for a different look! Repeat this whole process with two more pieces of paper to make a full circle. Tape them together, cut out a small circle or other shape for a center to cover the messy bit where's it's all attached, and you've made something quick, easy, and beautiful! No math necessary.
Back to the banquet itself.

Here's a few pictures of all the books, the gifts and crowns on the table, and one more little decoration I made using yarn scraps from something you'll see in a minute.

(I was one tablecloth short... oops).


The final thing to show was, of course, a little photo backdrop. Due to time constraints, i wasn't able to make this quite as spectacular as I would have liked, but people loved it anyway. We took about a million pictures. I made giant pom poms, used a die cut to punch gold glitter letters that read "We love our seniors" and hung them across a blue tablecloth - would have liked to have had two, but what can you do.


So overall, the banquet was a huge success. A lot of work, but I'm proud of it, we had a lot of fun and I have leftover jello. :) Happy camper.